> For the complete documentation index, see [llms.txt](https://docs.ixhello.com/llms.txt). Markdown versions of documentation pages are available by appending `.md` to page URLs; this page is available as [Markdown](https://docs.ixhello.com/ixhc2/integrations/genesys-integration-setup-with-ix-hello-customer-v2.md).
# Genesys Integration Setup with iX Hello Customer v2
## Step 1: Obtain the Genesys Organization ID
* Log in to Genesys Cloud.
* Navigate to:
Admin → Organization Settings
* Copy the Genesys Organization ID.
This Organization ID is required for validation within V2.
***
## Step 2: Configure the Genesys Organization in V2
* Log in to iX Hello Customer v2.
* Navigate to:
Settings → Genesys Cloud Integration
* Click Add Organization.
* Enter the copied Genesys Organization ID.
* Save the configuration.
This serves as the second-level validation during call initiation.
***
## Step 3: Obtain API Credentials
To obtain credentials:
* Contact the Support Team.
* Request:
* API Key
* Organization Details
* Endpoint Information
{% hint style="info" %}
Note: Most users may not have direct AWS access and must obtain the credentials through the Support Team by rising a ticket on Solvnow
{% endhint %}
***
## Step 4: Configure the Audio Connector in Genesys
* Navigate to:
**Admin → Integrations**
* Open the configured **Audio Connector**.
* Select the **Configuration** tab.
* Under **Credentials**, provide:
#### API Key
* Enter the API key supplied by the V2 team.
#### Client Secret
* Currently, client secret validation is not enforced.
* You may provide any value if required.
* Navigate to the AWS Access Portal. Under the Accounts section, locate the account you created and select Open to access the account.
* Navigate to AWS secrets manager -> secrets -> search for Headless API associated.
* Click open the Headless API associated with the account and scroll down to secrets value section, copy the secret key and secret value.
* Once you have the secret key and secret value, navigate to Genesys and update the API key and the secret key.
***
## Step 5: Configure the WebSocket URL
* Log-in to the V2 platform.
* Locate the WebSocket endpoint associated with the organization.
* Copy the WebSocket URL.
* Paste the URL into the Audio Connector configuration in Genesys.
Important
* Each WebSocket endpoint is organization specific.
* Ensure the endpoint corresponds to the correct customer v2 organization.
***
## Step 6: Configure the Flow
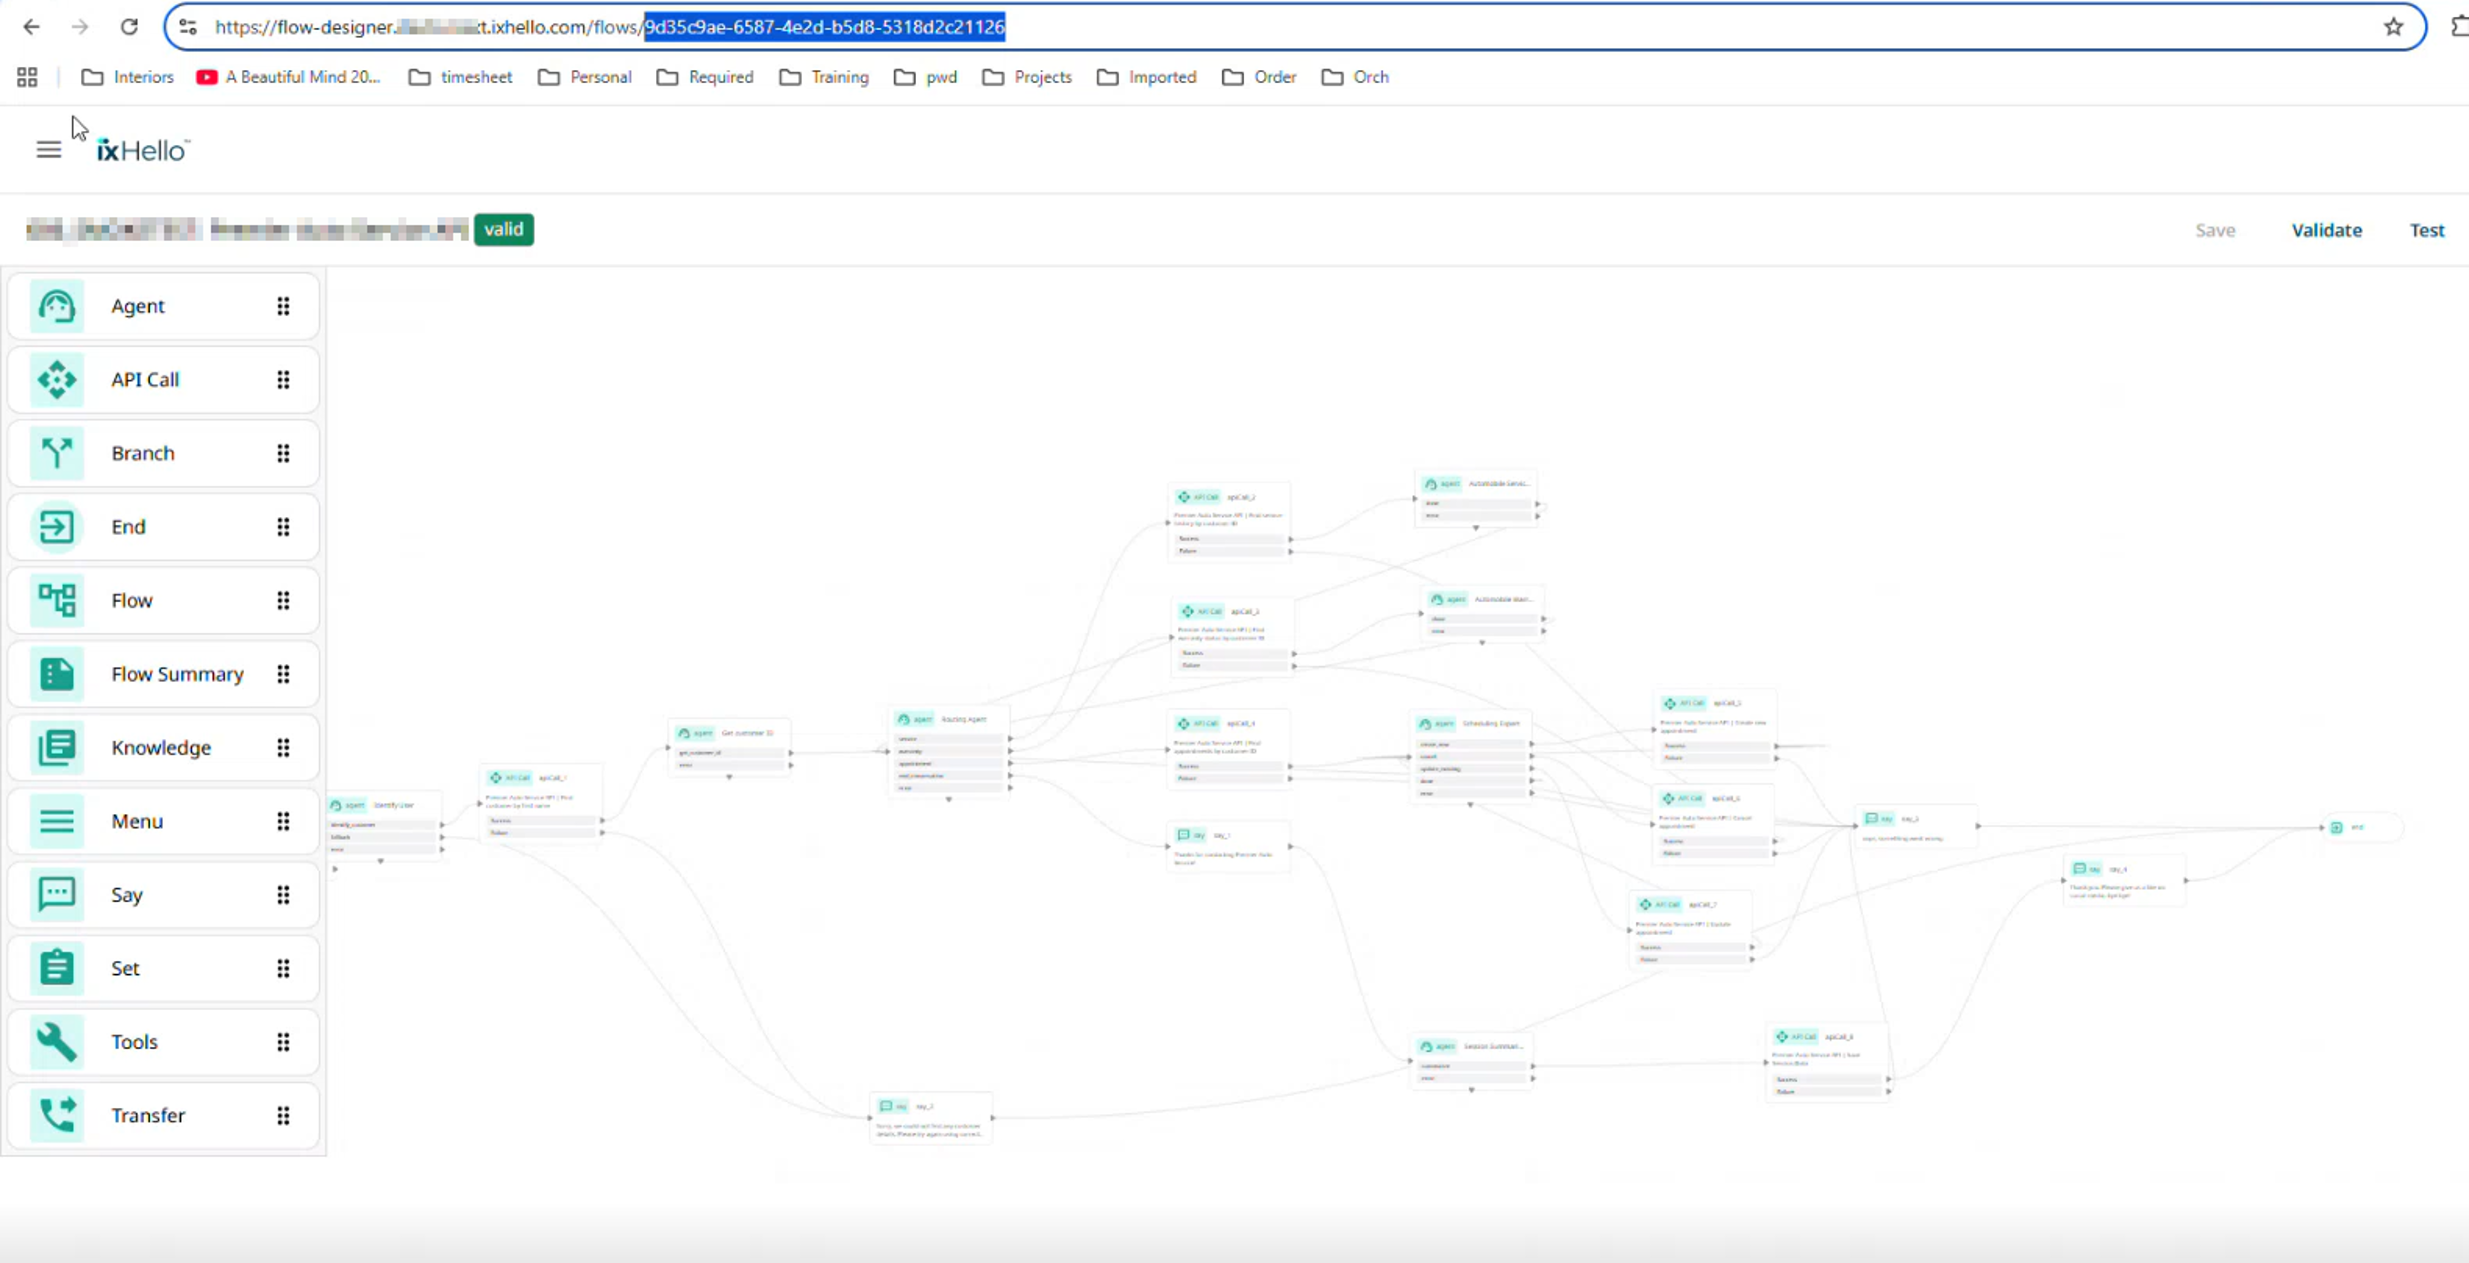
A customer v2 flow must exist before Genesys can invoke it.
### Obtain the Flow ID
* Navigate to the Flows section in customer v2.
* Locate the required flow.
* Copy the Flow ID.
***
## Step 7: Configure the Flow ID in Genesys
Within the Audio Connector configuration:
* Locate the Flow Configuration section.
* Enter the customer v2 Flow ID.
* Save the changes.
***
## Required Configuration Parameters
The following parameters are mandatory for successful integration:
| Configuration | Purpose |
| ----------------------- | --------------------------- |
| API Key | Authentication |
| Genesys Organization ID | Authorization validation |
| iX Organization ID | API access identification |
| WebSocket URL | Real-time communication |
| Flow ID | Target customer v2 bot flow |
***
## Making a Test Call
* Save all configurations.
* Publish the Genesys inbound call flow.
* Initiate a test call.
Expected flow:
***
## Failure Scenarios
**Invalid API Key**
**Result:**
* Authentication fails.
* Call is immediately rejected.
***
### Invalid Genesys Organization ID
**Result:**
* Organization validation fails.
* Call is disconnected.
***
### Missing Organization Mapping in customer v2
**Result:**
* customer v2 cannot authorize the request.
* Call fails before bot invocation.
***
### Conclusion
The Genesys Cloud and iX Hello Customer (V2) integration enables secure real-time voice communication by validating requests through multiple authorization checks before a call is connected to a V2 bot. Successful integration requires the correct configuration of the API Key, Genesys Organization ID, iX Organization ID, WebSocket Endpoint, and Flow ID. Once these components are configured and validated, Genesys can seamlessly route calls to the designated V2 flow, allowing callers to interact with AI-powered voice bots in real time. Any mismatch in the credentials or organization mappings results in immediate call failure, ensuring that only authorized organizations can access the service. This layered validation approach provides a secure, reliable, and scalable integration between Genesys Cloud and the V2 platform.
---
# Agent Instructions
This documentation is published with GitBook. GitBook is the documentation platform designed so that both humans and AI agents can read, navigate, and reason over technical content effectively. Learn more at gitbook.com.
## Querying This Documentation
If you need additional information that is not directly available in this page, you can query the documentation dynamically by asking a question.
Perform an HTTP GET request on the current page URL with the `ask` query parameter, and the optional `goal` query parameter:
```
GET https://docs.ixhello.com/ixhc2/integrations/genesys-integration-setup-with-ix-hello-customer-v2.md?ask=&goal=
```
`ask` is the immediate question: it should be specific, self-contained, and written in natural language.
`goal` is optional and describes the broader end goal you are ultimately trying to accomplish on behalf of the user. GitBook uses it to tailor the answer towards what is most useful for that goal.
The response will contain a direct answer to the question and relevant excerpts and sources from the documentation.
Use this mechanism when the answer is not explicitly present in the current page, you need clarification or additional context, or you want to retrieve related documentation sections.