# Okta SSO Login Basic Information
### Create Okta App Integration:
First step is to create an Okta app integration that represents your web application.
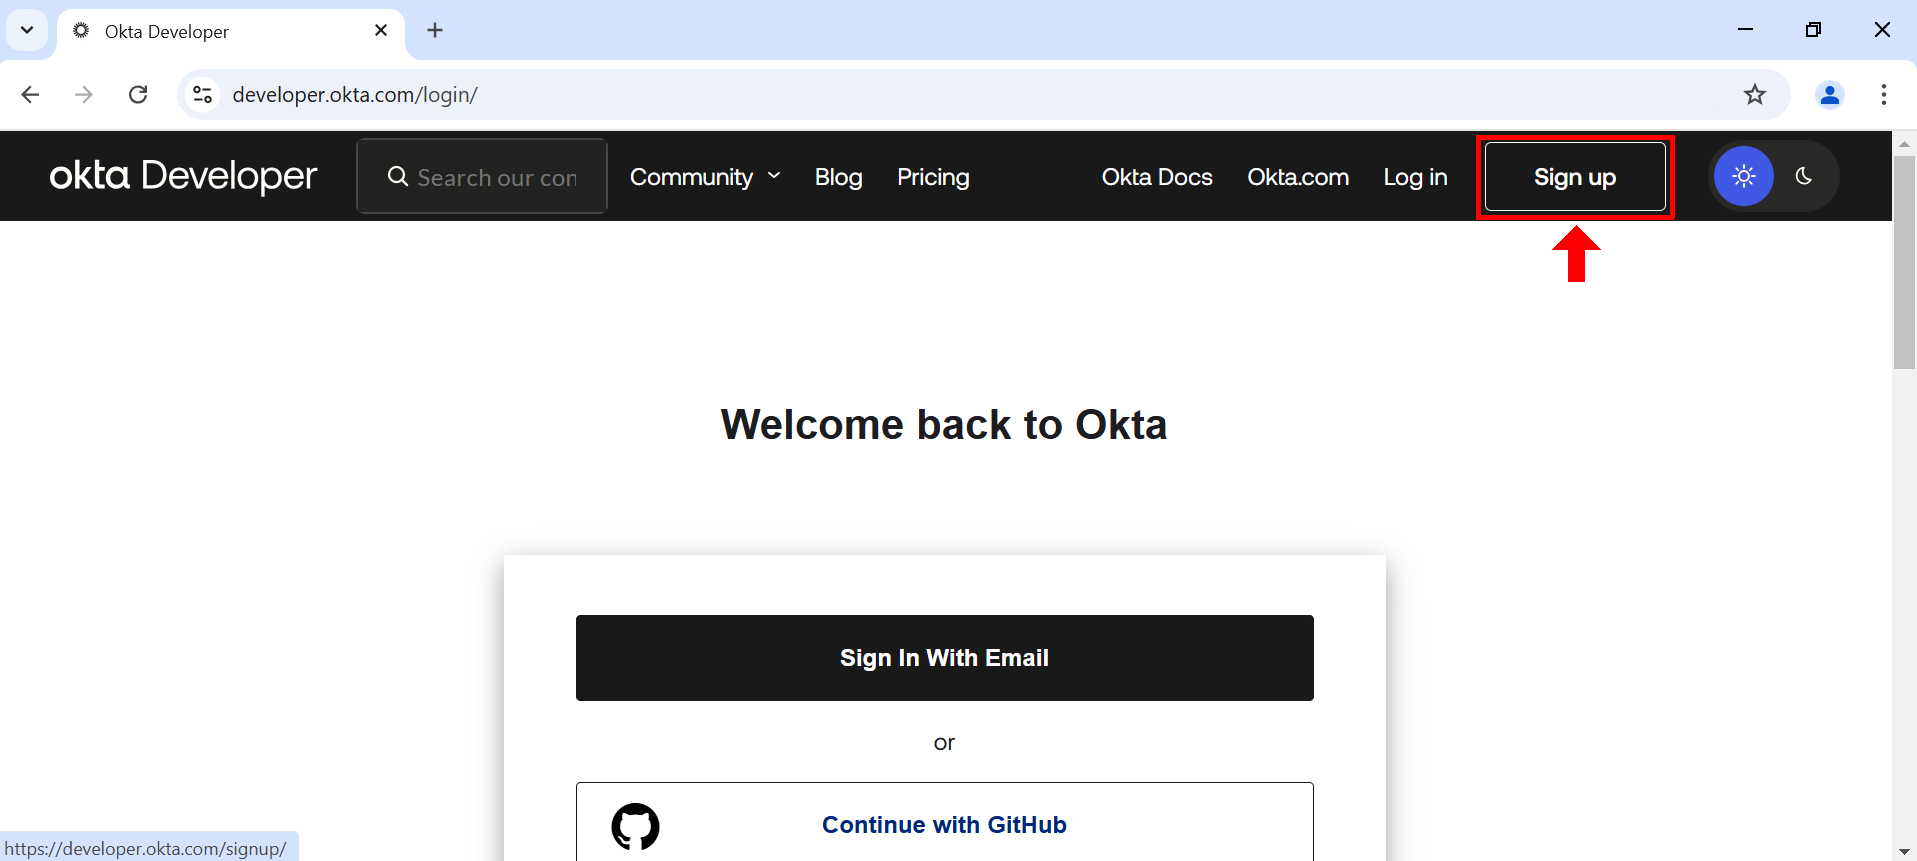
1. Sign into Okta with your administrator account [here](https://developer.okta.com/login/). If you do not have Okta account, click on **Sign Up**.
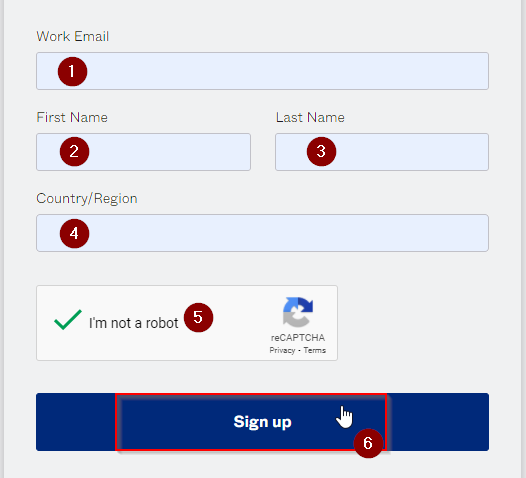
2. Fill in the details and click **Sign Up**.
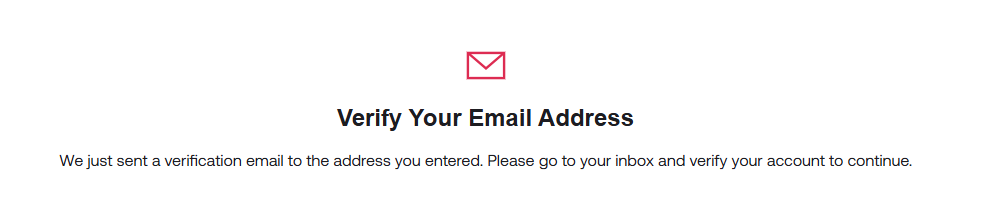
3. Verify your email address
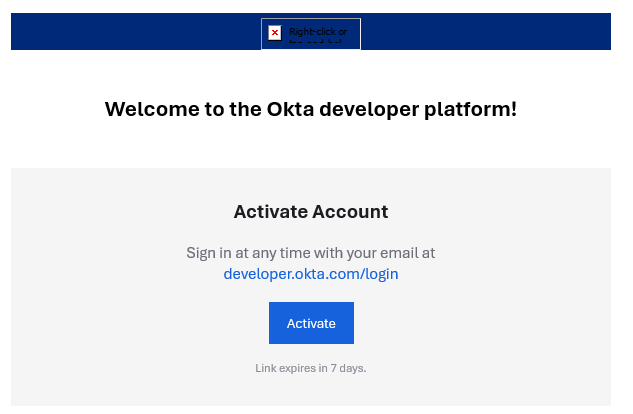
4. Log in to the email used for sign up and click **Activate** on the received mail.
5. The link redirects you to install an authenticator application. Install the application.
6. After installing the authenticator application, log in again and you will land on the Okta developer dashboard.
7. In the left side navigation pane, click on **Applications** > **Applications**. Click on **Create App Integration**.
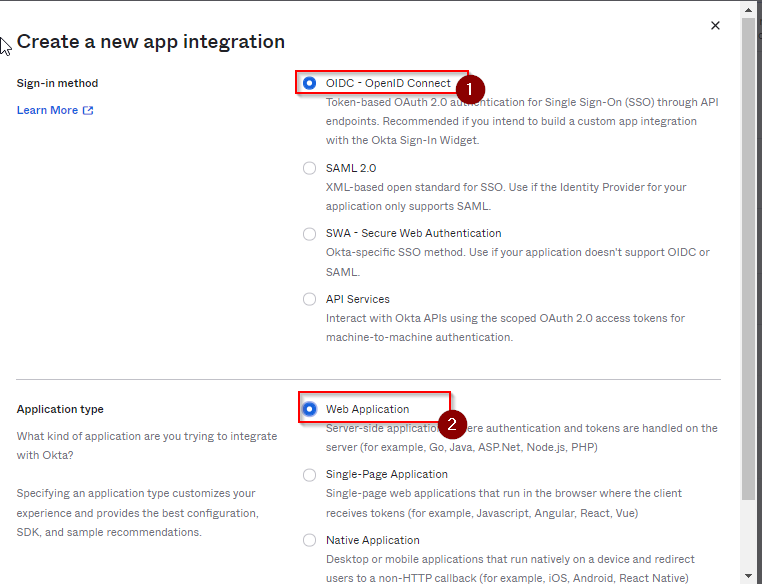
8. Select **OIDC** as the Sign In Method and **Web Application** as the web type. Click **Next**.
9. Fill out the details.
10. You shall now be provided with the Client Id, Client Secret and Okta domain.
This information is required for integration with ixHello. Save it for later use.
### Configuration at ixHello Okta Account.
1. Add a new Identity Provider (OIDC) and provide information from the step above. Login to ixHello Okta Account and on the **Security** menu, Click on **Identity Providers**
2. Click on **Add Identity Provider** and then select **Add OpenID Connect IdP** in the dropdown.
3. Fill in Client Id, Client Secret and Okta domain provided by client from the above setup. Press **Add Identity Provider**
| Name : ixHelloTest |
| ---------------------------------- |
| Client ID: \*\*\*\*\*\*\* |
| Client Secret: \*\*\*\*\*\*\* |
| Issuer: \*\*\*\*\*\*\* |
| Authorization Endpoint: \*\*\*\*\* |
| Token Endpoint:\*\*\*\*\*\* |
| JWKS Endpoint:\*\*\*\*\* |
| User info Endpoint:\*\*\*\*\* |
1. Add a new Identity Provider (OIDC) and provide information from the Okta client, as shown below
2. On Save, we will get IdP ID – as shown below.

This information will be used to integrate ixHello with Okta. The values have to be used in the config file to implement Okta SSO Login with dedicated ixHello service.
---
# Agent Instructions: Querying This Documentation
If you need additional information that is not directly available in this page, you can query the documentation dynamically by asking a question.
Perform an HTTP GET request on the current page URL with the `ask` query parameter:
```
GET https://docs.ixhello.com/ixhc/solutions/okta-sso-login-basic-information.md?ask=
```
The question should be specific, self-contained, and written in natural language.
The response will contain a direct answer to the question and relevant excerpts and sources from the documentation.
Use this mechanism when the answer is not explicitly present in the current page, you need clarification or additional context, or you want to retrieve related documentation sections.